Living LEAN: Lifestyle, Exercise, Attitude, Nutrition

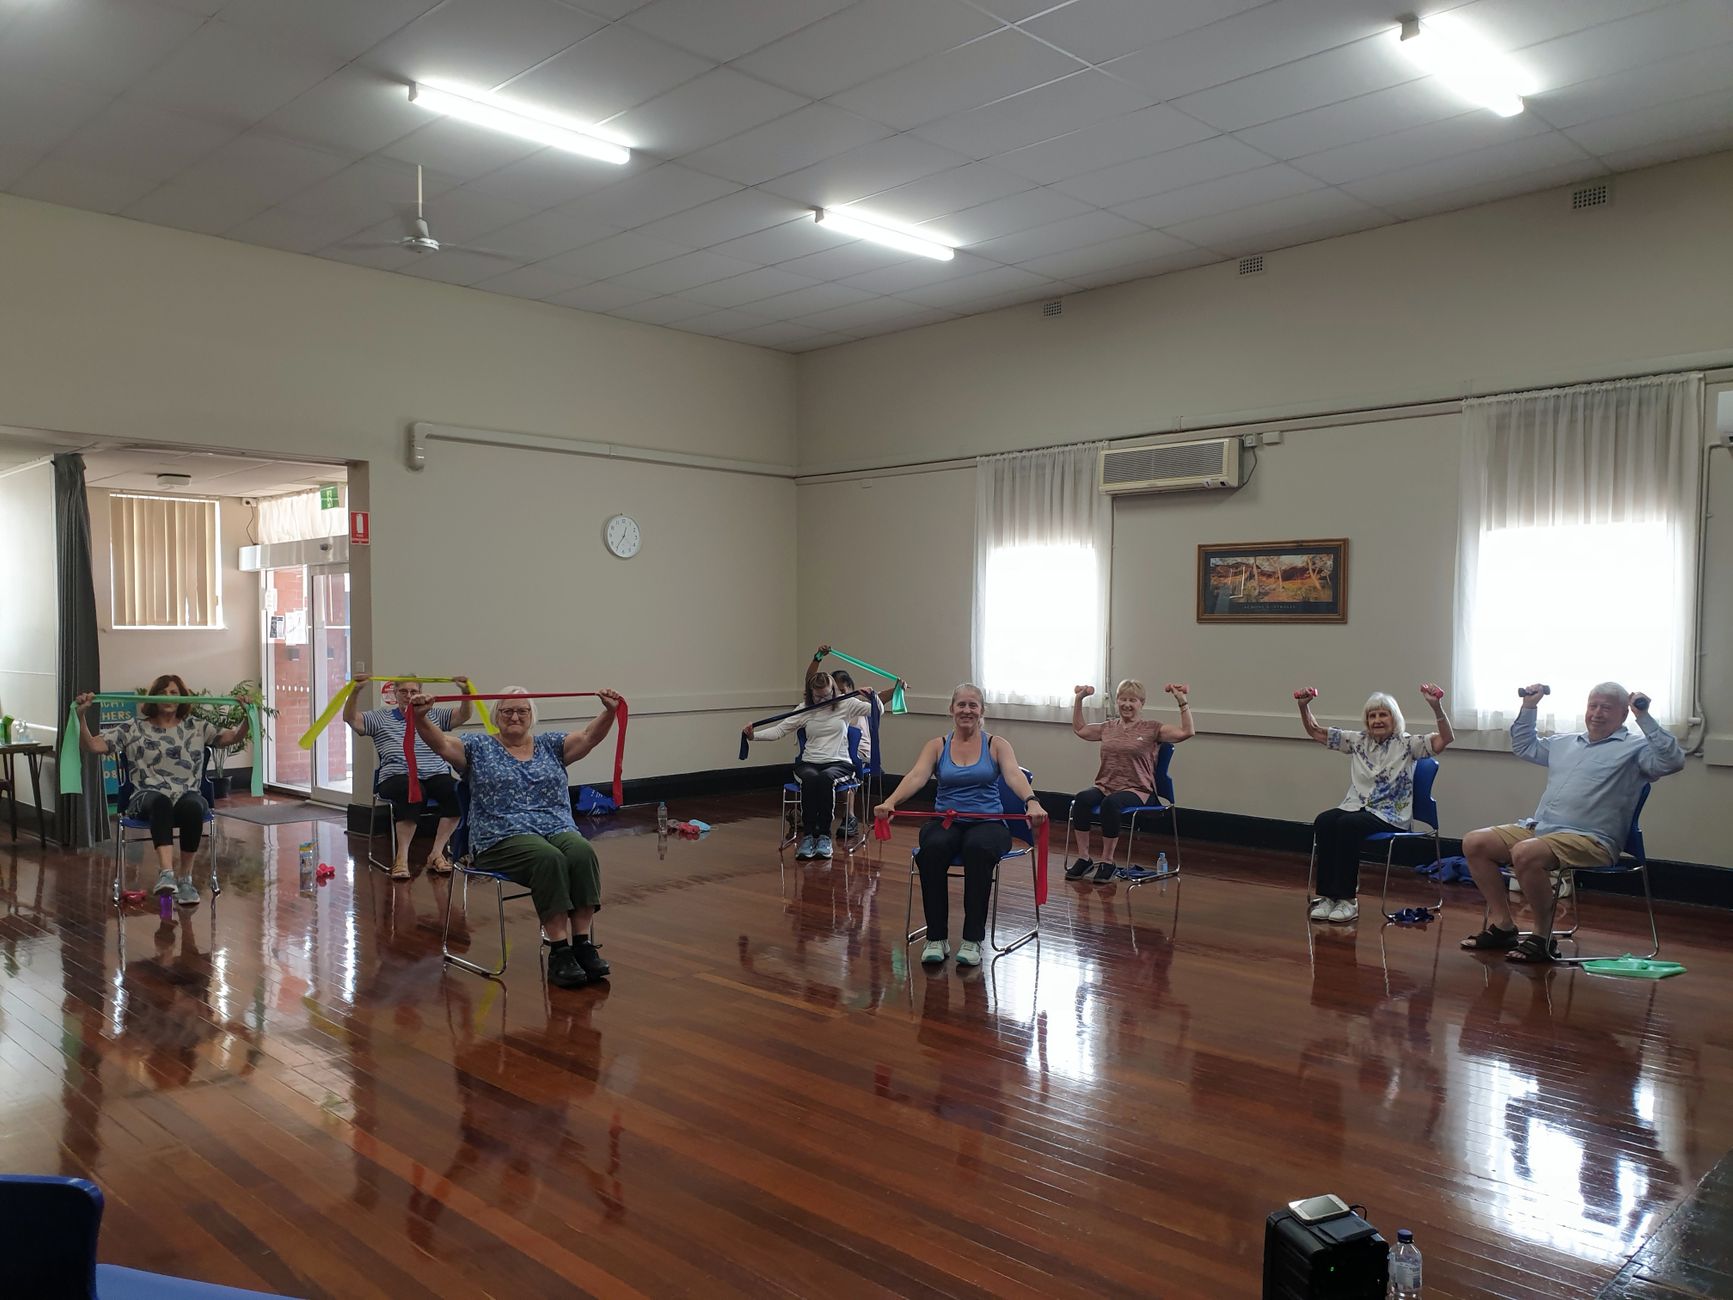
Photo by Wellness Gallery Catalyst Foundation on Pexels.com

I know I’ve talked about this before, but I’m passionate about our bodies’ ability to improve and heal—with a little help from us. Strength training isn’t just for bodybuilders or twenty-somethings at the gym. It’s one of the most powerful tools we have to maintain independence, reduce pain, boost energy, and feel better in our skin as we age. And the best part? It doesn’t take hours in a gym or heavy weights to start seeing and feeling real results.

Whether you’re 45 or 85, your muscles are still listening. They’re ready to work with you, not against you. Let’s take a look at how strength training supports our bodies at every age—and why it’s especially important in our later years.

General Benefits of Strength Training (For All Ages)

  • Increases lean muscle mass, which supports healthy metabolism—even at rest
  • Improves posture and joint stability, reducing the risk of injury
  • Boosts mood and energy, thanks to those feel-good endorphins
  • Supports better blood sugar regulation and cardiovascular health
  • Enhances balance and coordination, which reduces fall risk
  • Can reduce chronic pain, especially in the lower back, knees, and shoulders
  • Builds stronger bones, lowering the risk of osteoporosis

Strength Training in the Elderly: Yes, You Can Build Strength

Think it’s too late to start? Think again.

A groundbreaking study involving 19 elderly individuals—some of whom were nursing home residents—found that after just 8 weeks of strength training, participants increased their muscle strength by up to 174%. Not only did they grow stronger, but they also saw improvements in mobility, stability, and confidence with daily tasks. Some were even able to get up from a chair more easily, walk farther, and live with less discomfort.

Here are some of the incredible benefits of strength training in older adults:

  • Improved muscle strength and mobility, helping with walking, climbing stairs, and daily activities
  • Reduction in joint and chronic pain, especially from arthritis and long-standing conditions
  • Prevention and management of sarcopenia (age-related muscle loss)
  • Improved balance and coordination, reducing fall risk
  • Support for bone health, helping protect against fractures
  • Improved mental clarity and mood, thanks to increased circulation and brain oxygenation
  • Greater independence and quality of life

Busting Common Myths About Strength Training

Let’s clear the air about a few myths that might be holding you back:

Myth 1: “Strength training will make me bulky.” Truth: Unless you’re intentionally training with heavy loads and high calorie intake, strength training won’t bulk you up. It tones and strengthens your muscles, giving you a leaner, more sculpted look.

Myth 2: “I’m too old to start.” Truth: You’re never too old. Studies show that even individuals in their 90s can see measurable improvements in strength and function.

Myth 3: “It’s dangerous.” Truth: When done properly (with good form, light weights or resistance bands, and proper progression), strength training is one of the safest forms of exercise. It can actually protect you from injury by stabilizing your joints and improving balance.

Myth 4: “It’s only for the gym.” Truth: You can get stronger at home! Bodyweight movements, resistance bands, water bottles, or small hand weights are all fantastic tools to get started.

It’s Not About Lifting Heavy—It’s About Lifting Yourself

You don’t need to become a powerlifter to reap the benefits. Strength training is simply about helping your body feel strong, supported, and more capable—no matter your age or fitness level.

If you’ve been hesitant to start, let’s change that. I offer gentle, supportive coaching designed to meet you right where you are. We’ll find an action plan that feels good and sustainable, with guidance, accountability, and encouragement to help you move forward. While not a fitness trainer I am a Certified Health Coach and can help you meet your goals.

Ready to feel stronger and more empowered in your body?Let’s work together. Message me to learn more about my coaching options and how we can build strength for your best years yet. lisa@bringingbackdinner.com or schedule an online or in person session – Schedule.

Food for Gut Health

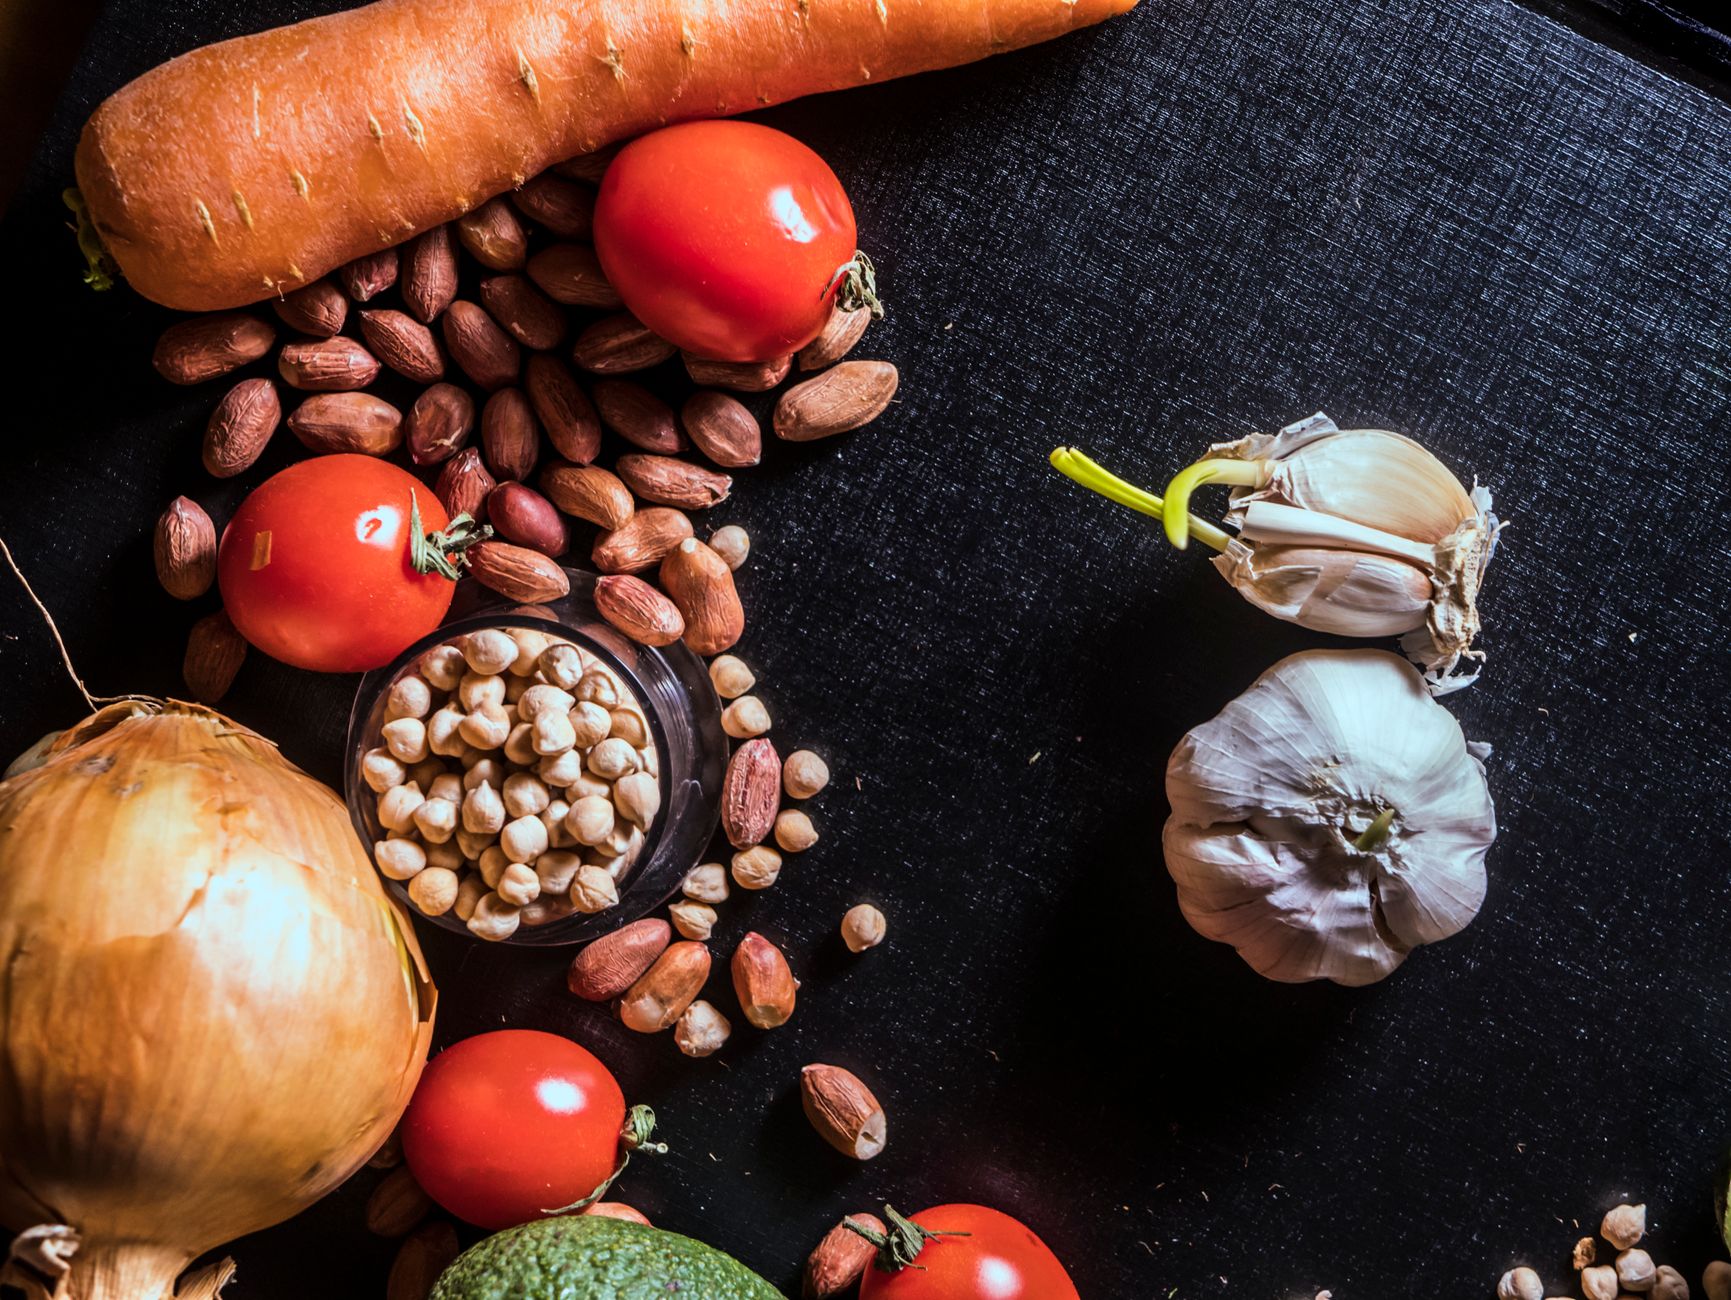
healthy food
Photo by Mike on Pexels.com

New science and research in recent years has proved that our gut (aka digestive system) is much more complex than we realized and impacts our entire bodies. A healthy gut helps provide a strong immune system, healthy heart and brain, and better mood and sleep.

It is said that over 70% of immune cells are found in the gastrointestinal tract. This is why many people have also found that improving their gut health improves their autoimmune conditions.

The gut wall acts as a barrier to viruses, fungi and harmful bacteria and sometimes gets “out of whack”. But we can take actions to help heal our guts and keep healthy guts.

Some of the signs that your gut may be unhealthy:

  • Frequent discomfort, bloating, gas, constipation or diarrhea 
  • Unintentional weight loss or weight gain
  •  Chronic fatigue and low energy 
  • Skin conditions such as eczema, acne or psoriasis
  • Trouble sleeping at night
  • Frequent headaches/migraines
  • Food intolerances or sensitivities 
  • Autoimmune issues
  • Extreme cravings, especially for carbs and sugar
  • Frequent mood changes

The gut is filled with bacteria, which is not a bad thing. There are

good gut bacteria that actually help your digestive system to do its job. So, one focus needs to be eating & feeding those good bacteria, particularly with fermented foods. Another focus needs to be adequate fiber & water intake for proper regular elimination.

Here are some specific foods to keep your gut happy:

  • Kombucha – A fermented tea beverage fermented with a culture called a Scoby – yeast and bacteria mix.
  • Miso – A fermented soybean paste used in traditional Japanese cooking. With an Umami sensation. I keep miso on had at all times. Not only do i make homemade miso soup, but I also add it to sauces for the umami boost – like chicken and dumplings! So good!
  • Saurekraut – Cabbage that has been fermented with lactic acid bacteria. While it is often associated with German food now, it originated in China over 2000 years ago.
  • Kimchi – A Korean dish of salted and fermented vegetables, including cabbage and radishes. Once we got over the new smell and idea of it we have become big kimchi fans and especially like it on a grilled cheese sandwich or on tacos.
  • Tempeh – Is a staple in Indonesian food and thought to be a by-product of tofu making originally. We use tempeh to make vegetarian Reubens.
  • Beans
  • Broccoli
  • Berries
  • Apples
  • Whole Grains

One of the additional ways you can help your gut is by supplementing with Probiotics and prebiotics, along with healthy food choices.

Probiotics are live microorganisms that can be consumed through

fermented foods or supplements. When taken in sufficient amounts,

they can help restore the natural balance of gut bacteria.

Prebiotics are a form of dietary fiber that feeds the “friendly” bacteria

in your gut. This allows your gut bacteria to produce nutrients for

your colon cells, which leads to a healthier digestive system.

I use the Shaklee pre and pro-biotics daily, and for me, it makes a big difference.

Don’t forget to stay hydrated! Drinking water can help keep your digestive system running smoothly.

Kimchi Grilled Cheese Sandwiches – Don’t say eww until you’ve tried it. So yum!

2 sandwiches

4 slices of bread

2-4 slices of your favorite cheese

4 tablespoons kimchi

1/4 cup frozen spinach

3 Tablespoons chopped onions

Optional: 1 Tbsp pickled jalapenos

2 Tbsp mayonnaise

  1. Sauté the onions until tender, add the spinach, jalapenos, and kimchi, and heat through.
  2. Mix the kimchi mixture with the mayonnaise and blend well.
  3. Top one slice of bread with cheese and half of the kimchi mixture.
  4. Top with the other slice of cheese, if using.
  5. Butter the outsides of the bread and grill until golden brown.

Enjoy!

DIY Salad Dressings

salad dressing
Photo by Amine Ku00fcbranur u00c7aku0131rou011flu on Pexels.com

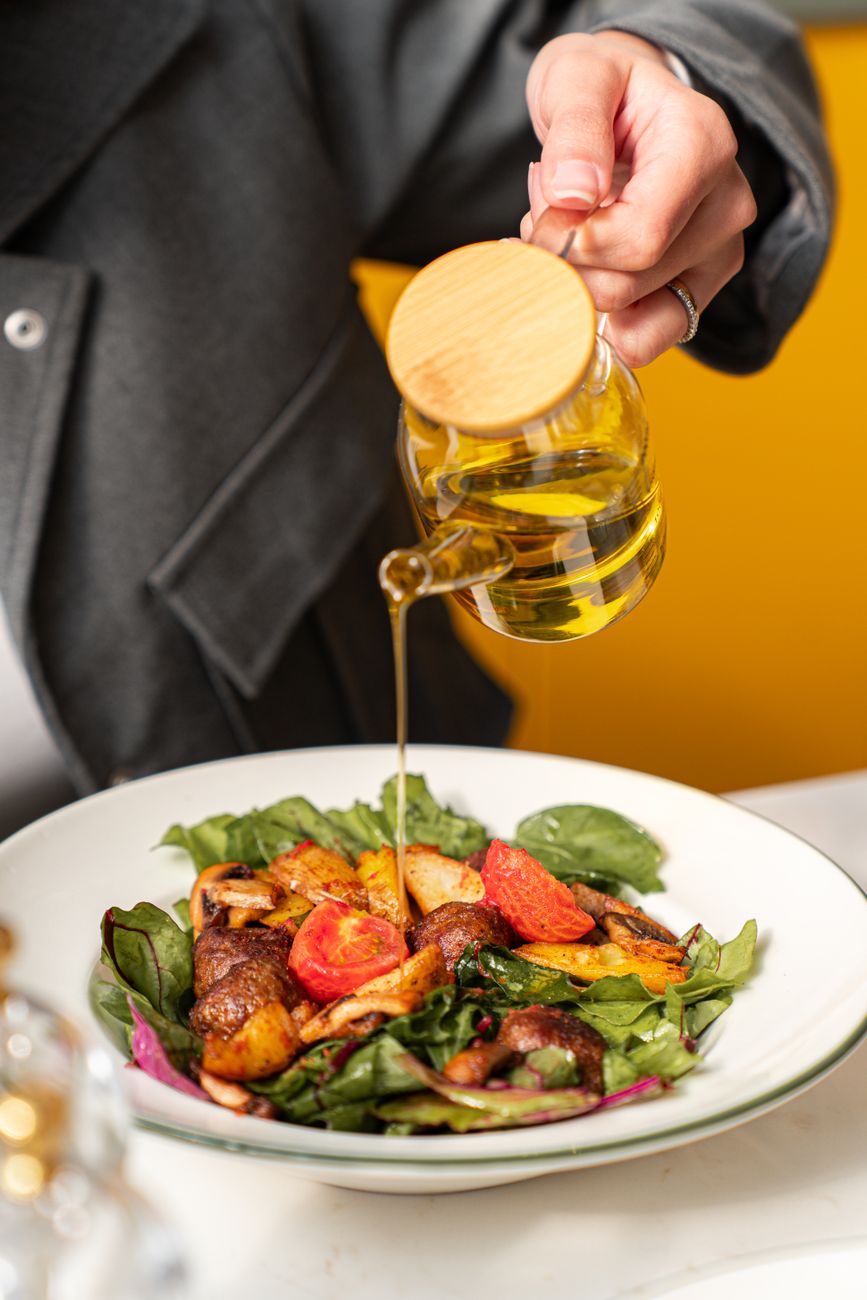
I used to be intimidated by the idea of making my own salad dressing; it seemed to complicated-scary actually! One day I just gave it a go and I’ve never looked back!

I make all of our dressings now! OK, for the most part. If we have to take one someplace I sometimes buy it.

When buying, read the labels carefully and watch sneaky things like sodium and sugar.

Homemade salad dressing are healthier, or at least have the potential to be healthier, because you are in control; no artificial ingredients, low or no sugar, low sodium, just full rich flavor, and they are just plain easy to make!

Health note: Keep in mind that most salad dressings are largely fat so the calories do add up. 1 gram of fat has 9 calories, over double of 1 gram of carbohydrates or protein! Enjoy, but in moderation and learn to love the taste of all those yummy veggies!!

Here are a few of my “go-to” recipes:

Basic Vinaigrette – Hugh Acheson

Bit of a fan girl!!! But even if I wasn’t this is your base, your starting point! From here you can go crazy when it comes to vinaigrette once you master your base.

  • 3 Tbsp Red Wine Vineagar
  • 1 Clove Garlic, minced
  • 1 Tsp Dijon Mustard
  • Kosher salt (did you know it matters? kosher salt is flatter and melts differently, among other things)
  • 3/4 Cup Extra Virgin Olive Oil

Shake well and use. See the link above for yummy things you can add to it.

Ranch – Simple

  • 1/4 Cup Mayo
  • 1/2 tsp Dill
  • 1/4 tsp garlic

water to thin and a pinch of salt

Ranch Dressing – More involved, from my sweet friend Gail

  • 1/4 Cup mayo (can use lite)
  • 1/4 Cup sour cream (can use nonfat)
  • 1 tsp parsley
  • 1/2 tsp minced onion flakes (I usually use fresh onion)
  • 1/2 t salt
  • 1/8 tsp pepper
  • 1 Clove garlic, minced
  • 1/3 Cup grated parmesan cheese
  • 1/2 tsp paprika
  • Buttermilk to the consistency you like

Mix, cover & refrigerate at least 2 hours before serving.

Dijon Dressing

  • 2 Tbsp Dijon Mustard
  • 2 Tbsp Honey
  • 1 Tbsp Rice Vinegar
  • 3 Tbsp Mayo
  • Salt and Pepper

Mix and enjoy

1000 Island – Simple

  • 3 Tbsp Mayo
  • 1 Tbsp Ketchup
  • 1 Tbsp Sweet Pickle Relish
  • Salt and Pepper
  • 1 Tsp minced Shallot
  • Drop of Hot sauce

Mix and enjoy

For a more complex 1000 Island try this one from Kitchen Treaty

Ginger Dressing – from my friend Gail

  • 1/4 Cup Rice Wine Vinegar
  • 2 Tbsp Lite Soy sauce
  • 1 tsp Sesame oil
  • 1/8 tsp Red pepper flakes
  • 1 clove garlic, minced

Shake and serve

Here are some more for you to enjoy!

Now this is a DIY we can all do!

Using Mindful Eating to Battle Food Guilt!

Person eating
Photo by Mikhail Nilov on Pexels.com

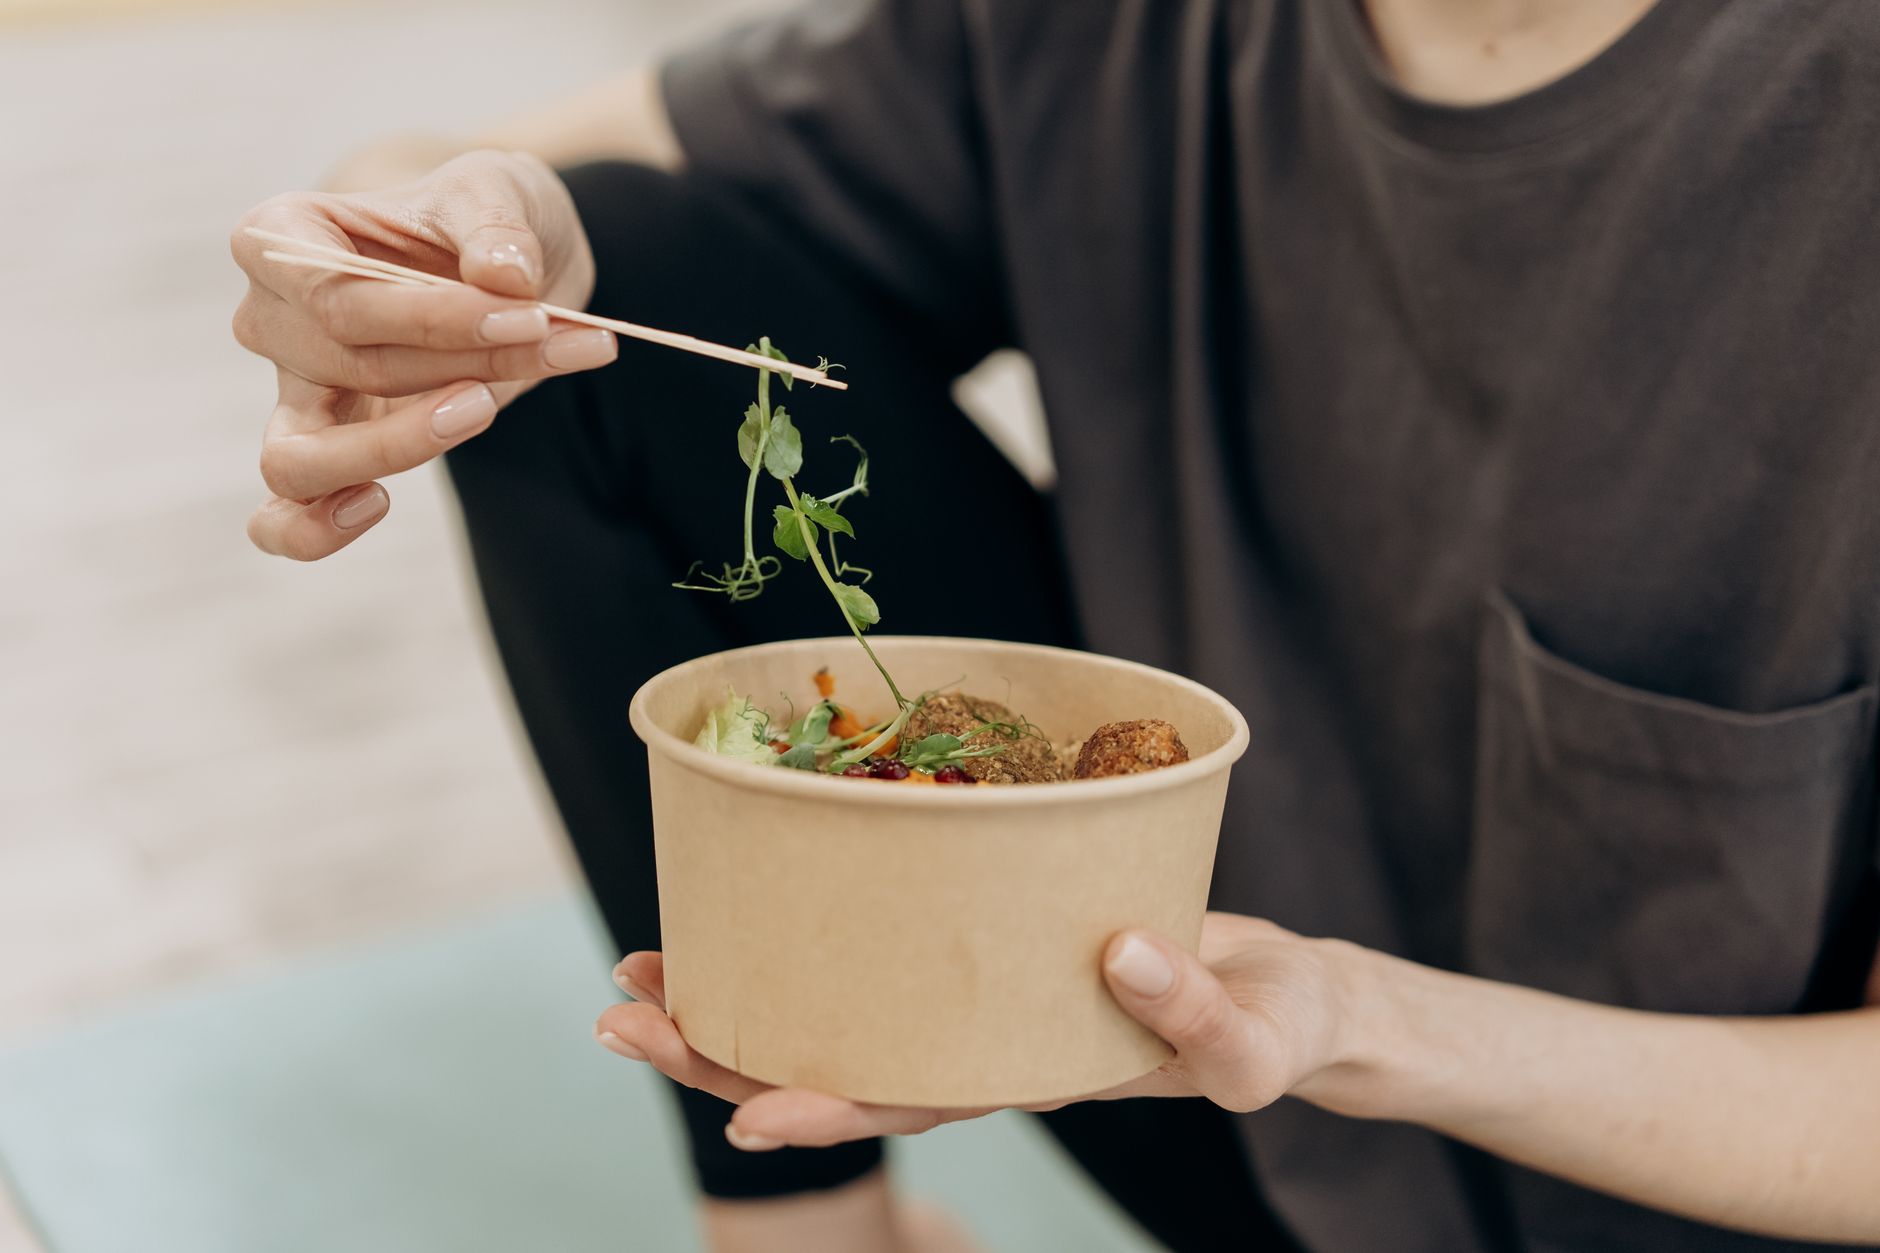
Mindful Eating is defined by the Center for Mindful Eating as “Mindfulness is the capacity to bring full attention and awareness to one’s experience, in the moment, without judgment. Mindful Eating brings mindfulness to food choice and the experience of eating.” Did you catch that? Without Judgment!!!

I am a big proponent of learning to listen to our bodies and of being loving and kind to ourselves, and I believe that out of this self-love we will take better care of ourselves. One of the biggest stumbling blocks can be shame and guilt related to eating. Learning Mindful Eating can help battle food guilt and be kind to ourselves.

“In my food world, there is no fear of guilt, only Joy and balance” – Ellie Krieger

On your wellness journey, make a choice to have a habit of including more nutritionally dense foods like whole food, plant-based foods into your lifestyle. You will find that the more you eat nutritionally dense foods, the more you will long for them, and you may feel better too! But don’t make this a stumbling block to enjoying your food.

Make room for treats too, enjoy them guilt-free. Remind yourself that this isn’t how you always eat and that you are having a treat, then allow yourself to truly enjoy it. It is about balance and freedom. The Dr. Sears Wellness Institute calls them Red foods, like the stop light. Red means to stop. It doesn’t mean you can’t have it; you just stop and think about it and enjoy Red Light foods occasionally. The key word “Enjoy” – no guilt, just enjoy it!

When you eat, ask yourself:

  • How does it smell? What do I smell?
  • How does it look? Is it pretty or creative?
  • Does it bring back memories? Does it make me feel any certain emotion? Why?
  • Am I actually hungry at the moment? Would I like to eat now, or is later better?
  • Is my brain in a battle over the should’s and should nots? Do I feel guilt? Can I give myself permission to let it go?

These are some of the things we consider in Mindful Eating, allowing our senses to fully soak in the experience.

Learning to Eat Mindfully:

  • Helps you learn to listen to your body’s cues. Hunger, thirst, tired, anxious etc.
  • Helps us slow down when we eat
  • Helps create gratitude for our meals
  • Helps us recognize how we feel in response to our meal
  • Helps us eat in moderation – not too much and not too little
  • Can give us the permission to enjoy our food without guilt or shame

We feel guilt or shame over our food choices because we have been taught that a certain food is “good” or “Bad”. Our goal is to eat foods that nourish our bodies, because they are full of nutrients that our cells need, and we want to properly fuel our bodies. Often this goal becomes imbalanced, making us slaves to the current trend, a current diet, the voices of others, and our own judgment.

You know what?? Food tastes good! It looks good too! We watch all of those cooking shows on TV because it looks good and we can imagine it taste good, we call that mind and eye hunger, and then we put effort into the meals we make because we want them to look good and taste good. It’s good!! There is no shame in this.

So enjoy it!

Exercise: At your next meal, pause…look at the food, is it “Insta worthy”? Then smell it and ask yourself what do you smell? Take one bite and ask yourself what do you taste and how does it feel? Can you identify the spices? Then swallow and think about what your cells are thinking and how it makes you feel. You can think about where the ingredients came from too, let your mind ponder the food.

If you feel yourself feeling guilty, say “5,4,3,2,1 I am practicing balance and joy”! (If you haven’t read the 5 second rule by Mel Robbins, I highly recommend it). Psst – say this out loud!!

If you struggle with food guilt, try using Mindful Eating as a tool to battle it and learn to be loving to yourself, forgiving with yourself, and less judgmental of yourself. Give yourself room for joy and balance.

How did it go? If you struggled, no worries, you have many more meals to practice!

To learn more, read Prinicples of Mindful Eating

Note: This is for the general public. If you struggle with eating dysfunction of any sort following the advice in anyone’s blog or post, including mine, could be more of a struggle for you and lead you to an unhealthy place. If you need help with an eating disorder, please reach out the the National Eating Disorders Association.

*This blog is for education and entertainment and is not meant to diagnose, treat, or mitigate symptoms or to be considered as medical advice.

Let me know how your Mindful practice is going! Comment on this post.

Menu Ideas for the Week

Stuffed Burgers on the Grill

Grilled Sausages, Peppers, and Potatoes

Grilled Scallops

Grilled Salmon Salad

Easiest Ever Veggie Burgers

Chipotle Pineapple Bang Bang Chicken Skewers

Plant-Based Meals:

Grilled Corn & Zucchini Salad with Sun-Dried Tomato Vinaigrette

Peanut Thai Salad w/ Grilled Tofu

Stacked Tomato, Summer Vegetable and Grilled Bread Salad

Grilled Buffalo Cauliflower Sandwiches

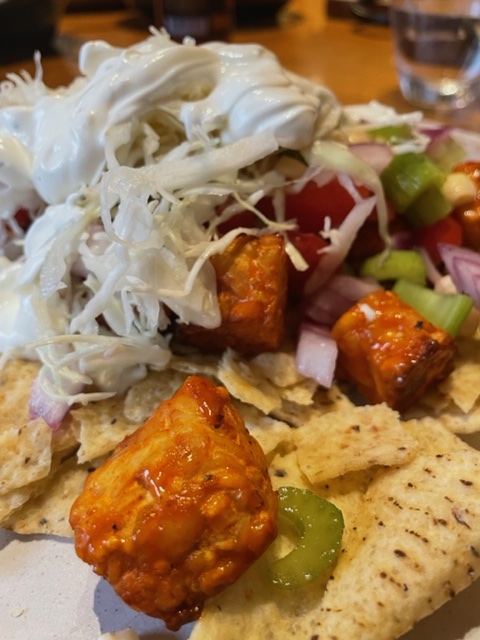
What’s For Dinner: Buffalo Tempeh Nachos

By Purple Carrot

Buffalo Tempeh Nachos (click for the recipe)

Time: 25 Minutes

Ease: Simple

Serve:  2 (Generous)

What is Tempeh?

Tempeh is a traditional Indonesian food made from slightly fermented soy beans. It’s in cake form, a pressed patty of sorts. The flavor is somewhat nutty and is fairly mild with a savory umami flavor, and a good source of Potassium, protein, fiber, Magnesium, Riboflavin, and Iron as well as other nutrients. Tempeh works well in many types of cultural dishes.

What can you do with it?

You can can use Tempeh in place of ground beef, use it where you would use Tofu. You can also cook it in strips, patties, crumbled, or grated. Tempeh is really pretty versatile. Many people recommend softening the Tempeh, but I use it just as it is.

Review:

This was a quick and easy dinner! If you like Buffalo sauce you’ll be a fan! This dish is a great get dinner done quick or a great fit for hanging out in from of the TV. If you don’t like hot and spicy foods you can purchase mild Buffalo Sauce.

The salsa was a celery, corn, and tomato salsa and worked well with the recipe and very quick to make. I think I might try a celery and apple salsa next time for a little sweetness, but the salsa worked well.

The recipe calls for shredded cabbage as a topping, but I added lime juice, a little onion and a pinch of salt just to give a little boost. It would be good just as is too, so don’t feel the pressure to do anything to it.

I love the recipes from Purple Carrot, there have been very few that I didn’t love. They excel at sauces and flavor combinations. We enjoyed dinner!

Tips:

-Don’t be intimidated to try new things like Tempeh. We were hesitant and first and now use it in many dishes.

-The Airfryer is great for crisping the Tempeh.

-If you are out of Ranch dressing try mixing Mayonnaise, Garlic salt, and some dried dill, then add water to the consistency you like. It is a surprisingly good quick substitute.


Some other Dinner ideas for this week:

Sweet Potato, Corn, and Black Bean Hash – Eating Well Magazine. one of my go to’s!

Portobello Mushroom Lasagna – Ina Garten. A 4 MMM dish from the hubs!

Chili with Polenta and Vegetables – Martha Stewart

One Pan Honey Garlic Chicken and Veggies – Damn Delicious. I’m a big fan her dishes live up the the name!

Enjoy!


Take the Quiz

Review: Instant Pot (PC Quick Cooker) Lasagna

Recipe by Amy + Jacky

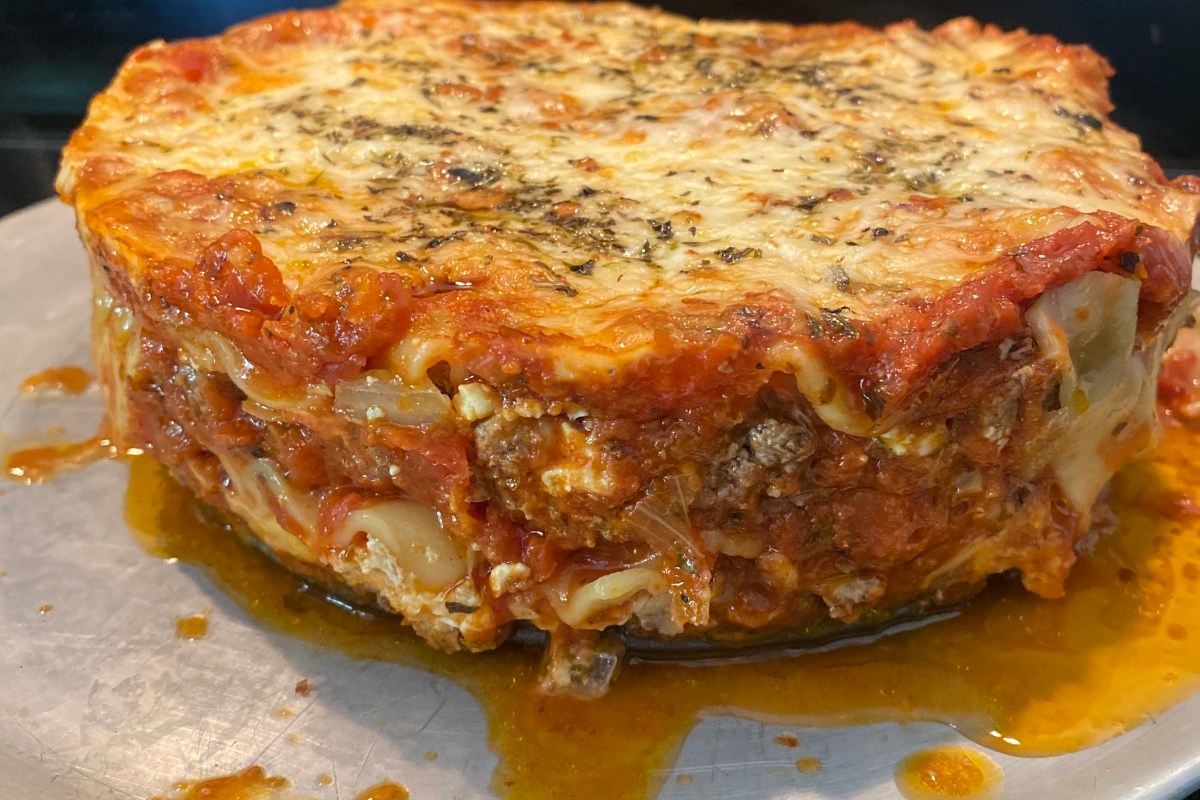
Instantpot Lasagna (click for the recipe)

Time: 50 Minutes

Ease: Simple

Serve:  4

I love pressure cooking!!! And I’ve yet to blow up a single thing!! Really!!! Pressure cooking is fast, easy, flavorful, and doesn’t heat up the kitchen. I started with a basic electric pressure cooker, then moved to the Instantpot and when it died I bought my long desired Pampered Chef Quick Cooker, but really they all do the same thing, simplify meal time.

I’ve tried a lot of things in the pressure cooker and I’d own one just to make my own dried beans! No pre-soaking yaaasss!! 26 minutes and done! It does so much more though!

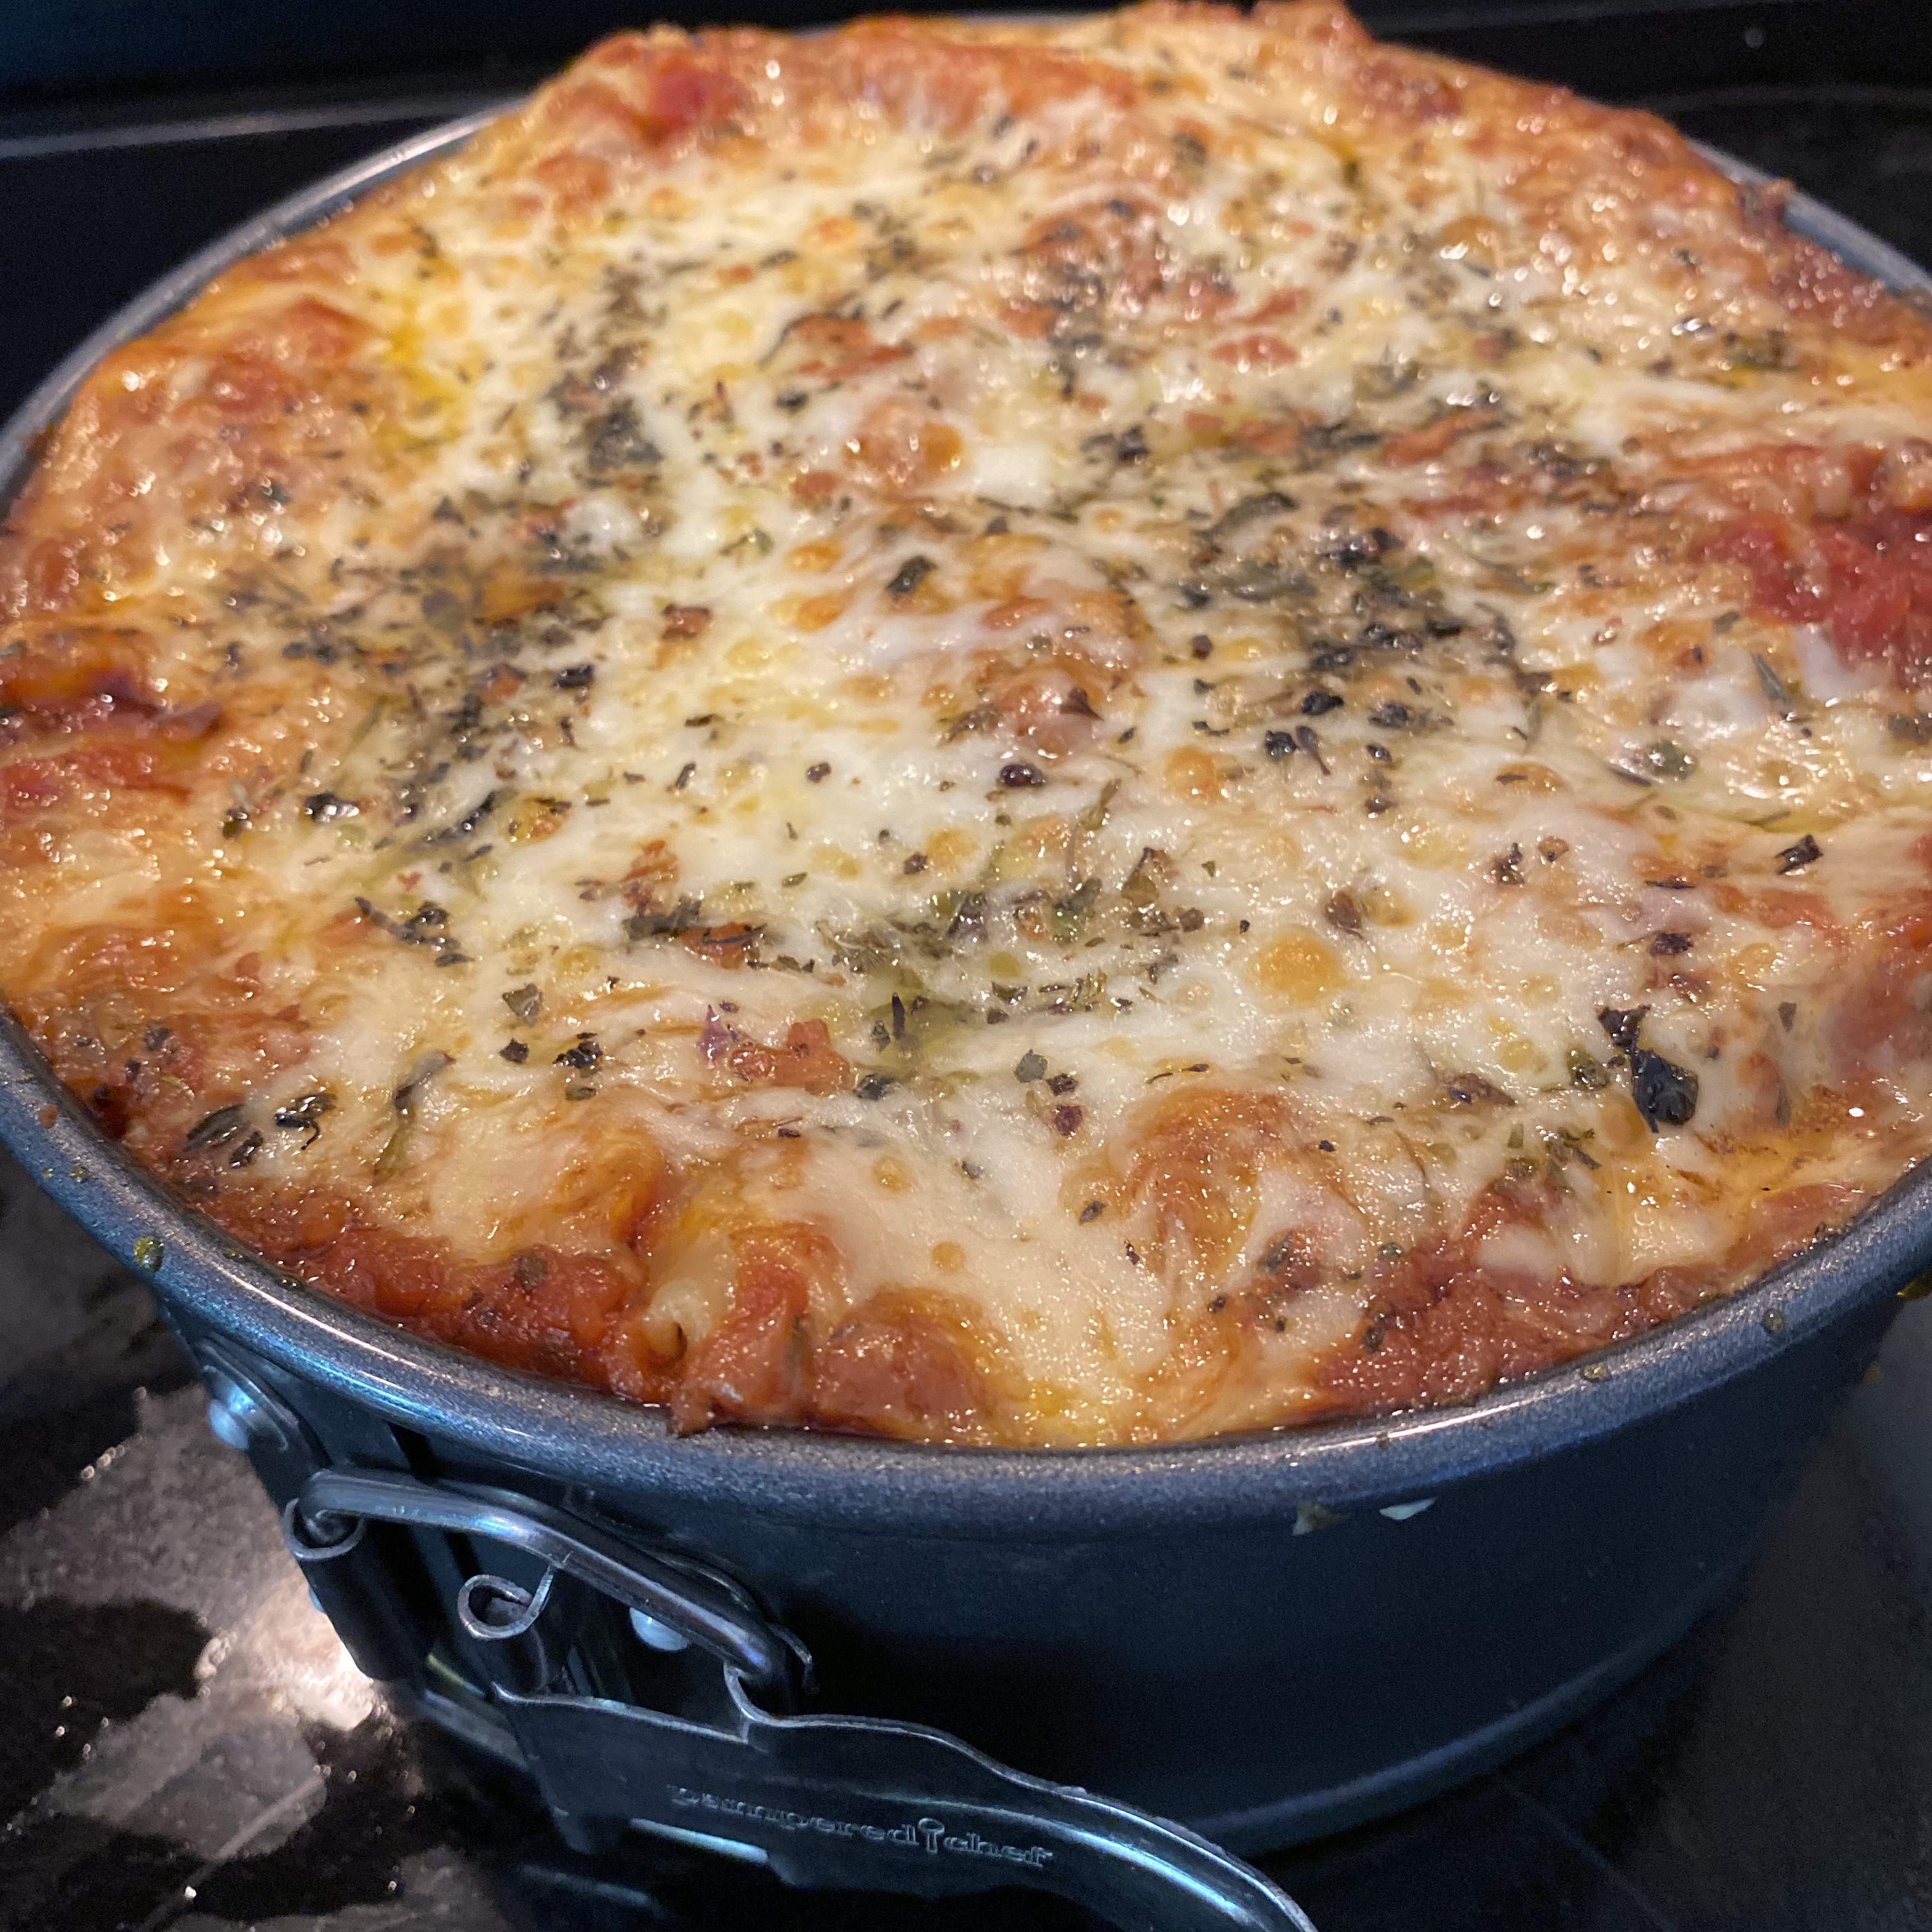
I finally decided to try a lasagna, which seemed like it would never work, but it did and it did it beautifully.

Review: While I used the information from Amy + Jacky I did improvise. I found that their recipe is a basic lasagna recipe and I made it the way I would normally. Honestly, one of the best is the one right on the side of the Mullers lasagna noodle box, but any one will do and this recipe is a good basic lasagna recipe, so go for it.

I did not use sausage, just because didn’t have any on hand. I also always add an extra layer of cheese in the layers. It turned out great!! The lasagna was perfectly cooked and tasted delicious. We will do this meal again!

Tips: If you have a springform pan that fits in your Instantpot that will be the easiest, but any pan that is compatible to your machine should work.

The trickiest part is breaking the noodles to fit the pan. I used a knife to have more control to cut the angles I wanted.

You MUST use “No Boil” noodles!

You can broil off the top for a nice brown crusty top, but you don’t have to.

Instant Pot vs Pampered Chef Quick Cooker: I have found that I have to add a little extra time to my Quick Cooker for almost every recipe I make. Both machines require practice and deciding what you think is just right.

This recipe called for 24 minutes on High, but for the Quick Cooker I had to do it for 40 minutes and did 10 minutes natural release, which is honestly not much different from making it in the oven. I also added 2 cups water to the pot instead of 1 cup. While I could have done the whole thing in the oven it just so happened that our air conditioning died and it was 90 degrees in my house! Somebody say yayyyyy pressure cooker! I was able to make a yummy dinner without heating up the house. That was a win!

Will I do it again? Absolutely! While my pressure cooker did it’s thing I went about doing mine and not even thinking about it. Fix it, forget about it!!

Enjoy!


I live in Greensboro NC with my husband who is an Environmental Consultant and Geologist and I am a Certified Health Coach. We both are Independent Shaklee Distributors and help people live healthier, greener lives. 

Free Health Assessment

Summertime means Cucumbers!

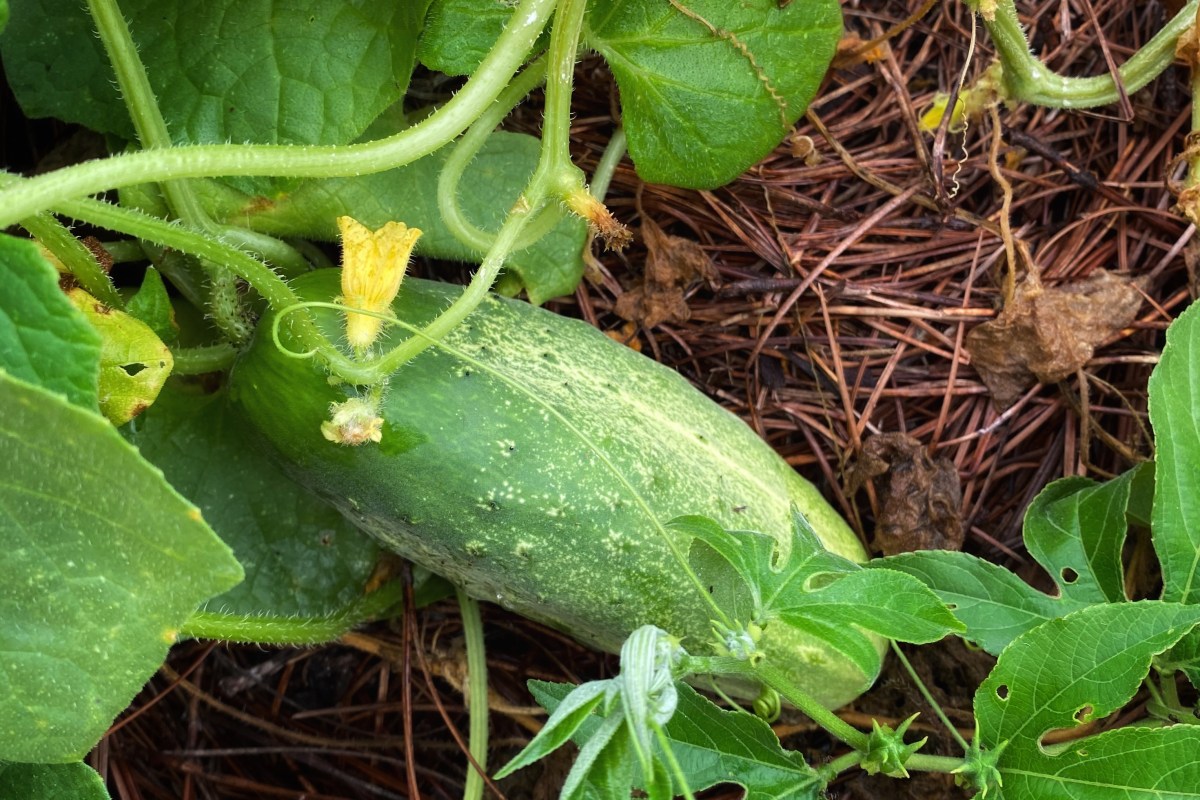
I love summertime!!! My best memories are summer days in the country in Virginia! Running around barefoot in the sweltering heat and didn’t even care! Climbing trees, rolling in the grass, eating all the wonderful garden treats, it was divine!! I was very skinny and sometimes I’d be so full from fruit and veggies that I wouldn’t touch my dinner; oooooOOOO it made my grandma upset! She was sure I’d waste away to nothing. I didn’t…I made up for it!

One of my favs was cucumbers, we had them at every meal both in cucumber form and pickles! My Mamame, my other grandmother, made pickles every year, mostly I remember how bad the house smelled!!!! For the most part, I’ll take them pre-pickle form i.e. cucumber.

My grandmother, and just about everyone, served them in vinegar with onions, but I haaaateed vinegar, so my grandma would put one little bowl of cucumbers on the table with water and a little salt. Just for me!!! I loved it!! Sometimes I’d just slice a cucumber like cutting up an apple, sprinkle a little salt on every slice and pop it into my mouth! The best, right next to pulling a cherry tomato off the vine all warm and sunshiny and then having it burst with weirdly cool tomato juice in side your mouth!!! MMMmmmMM!!!

Pickles are worthy of a blog post in themselves. I once nearly made myself sick in a church fellowship hall because all the ladies made their own recipe for deviled eggs ( a weakness of mine), but every egg had a little sliver of THIER OWN homemade pickle on top. I mean…It woulda just been rude to not try at least one of each y’all!! Plus they’d ask!! And you can’t lie in a church fellowship hall. I’m sure God tell’s southern ladies if you lie about their pickles. We’ll stick to cucumbers today.

Did you know?

  • The expression “Cool as a cucumber” was first used in 1732 to mean steady and calm.
  • You can rub a cucumber on your window to help keep it from fogging up. Hmmm…mask eyeglass fog problem solved??
  • Rehydrate. The high water content is hydrating and can even help with a hangover because of the water content and high vitamin content – so they say.
  • Joint health, their silica content may help with aches and pains and promote joint health.
  • Cucumbers are high nutrient density, but low calories making it a great choice when watching your calories…or any other time.
  • Cucumbers are packed with antioxidants, primarily lignins, triterpenes, and flavonoids and can help with cell health and inflammation.
  • Cucumbers are over 3000 years old and originated in India
  • Cucumbers are a good source of Vitamin K, A, calcium, choline, potassium, magnesium, phosphorus, and folate, plus fiber.

Recipes:

Paula Deen’s Cucumber Salad

Icebox Pickles (Icebox is a refrigerator and yeah; I had to squeeze one pickle recipe in)

Cucumber Salad – the basic

Cumber & Blackberry Salad

Fresh Tomato, Cucumber & Feta Salad

Julia Child’s Baked Cucumbers

Cucumber Melon Salad with Chile and honey (yeah, lots of salads)

And of course Cucumber Sandwiches

Pimm’s Cup Note: British lemonade is fizzy and not like American lemonade. Try something like sprite or use lemonade and add carbonated water.

Share your cucumber recipes, OK pickle too, in the comments!

Happy Summer and Enjoy!


I live in Greensboro NC with my husband who is an Environmental Consultant and Geologist and I am a Certified Health Coach. We both are Independent Shaklee Distributors and help people live healthier, greener lives.

Free Health Assessment

#whatsfordinner: Salmon & Grits!

Tonight’s dinner was inspired by Green Valley Grill, in Greensboro, NC and when restaurants are open it will be one of the first places I go!!! MmmmMMMmmm!!

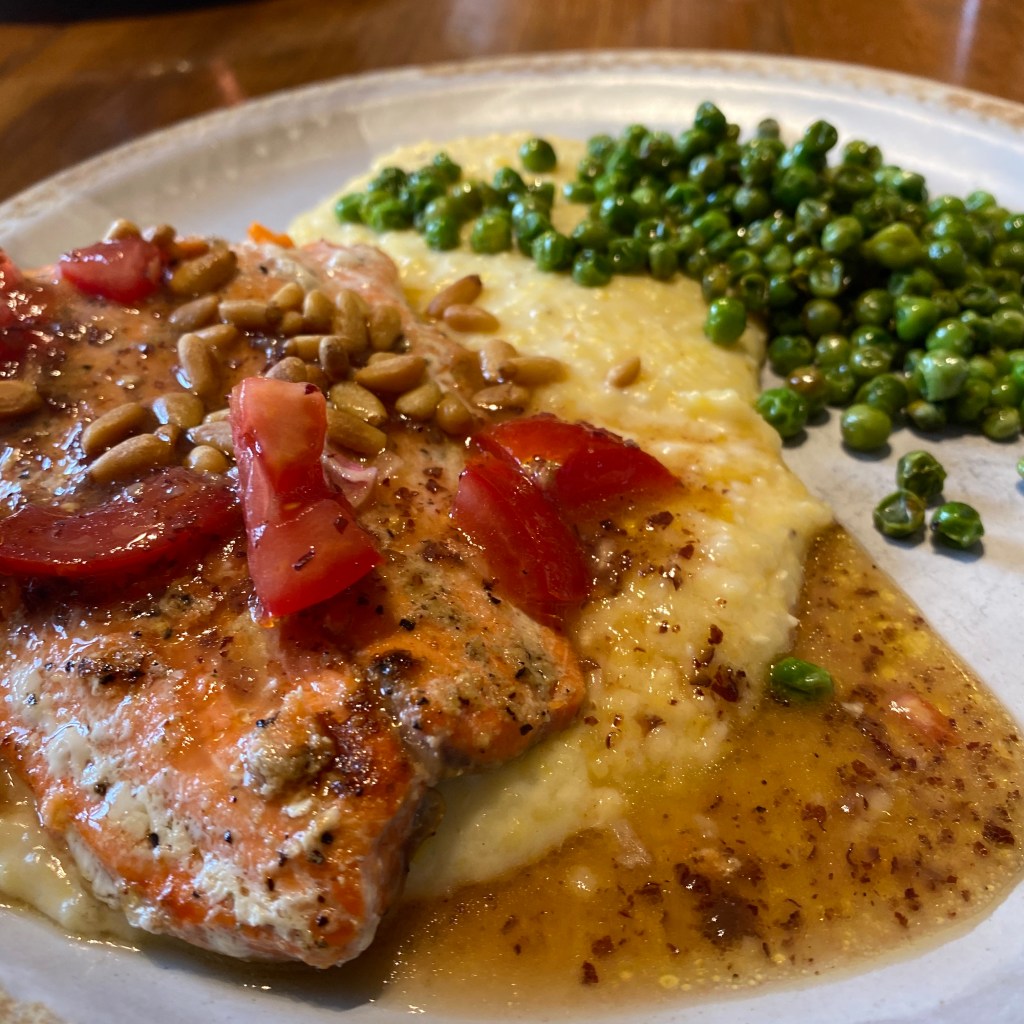
One of my favorite meals is the Grape Leaf Salmon, and while I didn’t have all of the ingredients I had many of them, so we improvised and it was faaaantastic! We played classical music, popped open some wine and pretended to be out! What things are you doing to help you during this time of #stayhome? We find that making a special dinner and creating a special atmosphere from time to time can help.


Menu:

Grilled Salmon: Sprinkled with Ruth Ann’s Muskego Ave Chicken/Fish Seasoning, this is one of our favorite, simple seasonings. We had fairly small pieces of Salmon, each piece was sprayed with olive oil and sprinkled with seasoning and grilled for 2-3 minutes each side.

Grits: We use fresh stone ground grits from a local mill. 1 cup grits to 3 cups water and add a little salt and pepper.

Options: Try adding cheese, a little cream cheese, and butter for a twist – if you want to go crazy!!

Peas and Pine nuts: I toasted pine nuts at 400 degrees for 5 minutes and added the peas tossed in a little olive oil and the Ruth Ann Seasoning (or salt and pepper) to the same pan to cook. After the pine nuts are done, scoop off the pan and leave the peas in 5 more minutes.

Sprinkle the pine nuts on the salmon right before serving.

Lemon Raisin Sauce: by Green Valley Grill This is an easy sauce to make, but called for 1 1/4 cups lemon juice! Which is a lot!! However we happen to have quite a few lemons and limes that were getting a little over ripe, so it was perfect. Our sauce was made with more lime juice than lemon juice and was still really good! Honestly I loooove limes!!!

There was plenty of leftover sauce and I added shallots and one clove of garlic to the sauce and pureed it to use as salad dressing later this week. It is a little sweet because of the raisins and you could add a teaspoon of Dijon mustard or a little balsamic vinegar to the blend. – Play with your food!! It’s fun.

Time: 30 minutes

Ease: Simple

This was a simple meal, but felt like fine dining. Give it a try and Enjoy!

Questions: lisa@yieldingaction.com

Review: King Arthur Flour Buttermilk Pancakes

Recipe Link: King Arthur Flour Buttermilk Pancakes

Time: 45 minutes, includes 15 minute rest time

Ease: Simple

Review: Carb haters may skip this post (but if you don’t….I won’t tell). Hey, we are living in weird times if you need a pancake, who am I to judge??

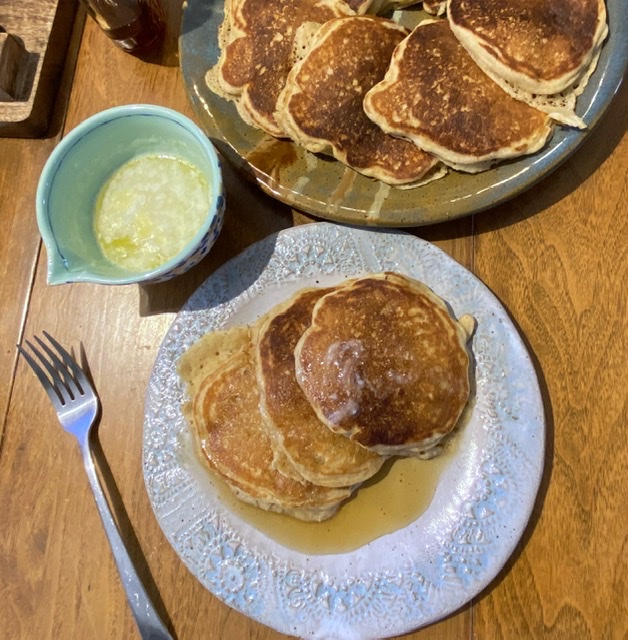
If you think you would never be able to make pancakes without a mix, this recipe will change your mind. It was easy to make and they were delicious! The directions are clear and the recipe turns out the way it was described. I recommend getting all of your ingredients prior to cooking and measure them out and have them ready to go – mise en place.

I use a non-stick electric griddle for pancakes, but I’m not a big fan of Teflon because of the risk of leaching “forever chemicals”, PFAS into the food. I use this one non-stick item for a few things and that’s it.

If you are using a non-stick pan make sure to keep the temperature around 350F, the coating begins to deteriorate as it reaches 500F. You are likely to never reach this temperature, but sometimes we get distracted and leave a pan on the eye (burner) and allow it to overheat. Secondarily, if your oil begins to smoke it releases toxic fumes and free radicals which can be damaging to your health, so always keep an eye on your pan.

If I use a regular frying pan and make them on the stove, the first pancake is always the sacrifice to the pancake god, burnt on the alter of Kitchenaid. The blessing of perfect pancakes is only complete once the burnt offering is consumed by the great an might (old and sweet) Sasha Dog (or whatever your pet is named). If you burn the first one…or two, don’t worry, the rest will be perfect. As in life, adjust the heat and keep going.

Once you are comfortable with the recipe as written, try adding things like rolled oats, nuts, berries, other flours, extracts, etc. and experiment with flavor.

This morning I altered the recipe. For the 2 cups of all purpose flour I used 1 cup all purpose flour, 3/4 cup Spelt flour, and 1/4 cup Kamut flour. The recipe will be just as delicious with regular all purpose flour.

Tip: If you don’t have buttermilk use 1 Tablespoon of white vinegar or lemon juice per cup of milk. Mix well and let stand 5-10 minutes to thicken. Yogurt or Sourcream may also be used as a substitution.

And just so we don’t just pick on carb haters; fat haters you should know we poured yummy hot butter all over the finished pancakes and they were great! Oh and sugar haters, these are best with 100 pure maple syrup (still a sugar). Food haters unite!!! Join the eat real food revolution and drop your hate!!! #eatrealfood

Enjoy!


To learn more about the dangers of PFAS read this great blog post by my awesome hubs. PFAS, What’s All the Fuss About.


LHi, I’m Lisa and I’m an Independent Shaklee Distributor and Certified Health Coach. My absolute joy is partnering with people to realize their own self value and learn to live healthier lives. I believe that as we love ourselves we are loving to ourselves and from there we are more able to eat well, exercise, and take care of our physical selves. It is my goal to touch the lives of others and help people live healthier lives longer!! Through Shaklee I have an excellent partner that shares my passions of environment and health and I look forward to sharing that with you. 

Visit my other websites:

Yielding Action Health Coaching

Environmental Friendly Products: Shaklee


Feel free to leave your comments or reach out to me at lisa@yieldingaction.com

Review: Minimalist Baker, Spicy Jackfruit Tacos

Spicy Jackfruit Tacos (click for the recipe)

Time: 40 Minutes

Ease: Simple (Don’t be afraid of the Jackfruit)

Serve:  2-4

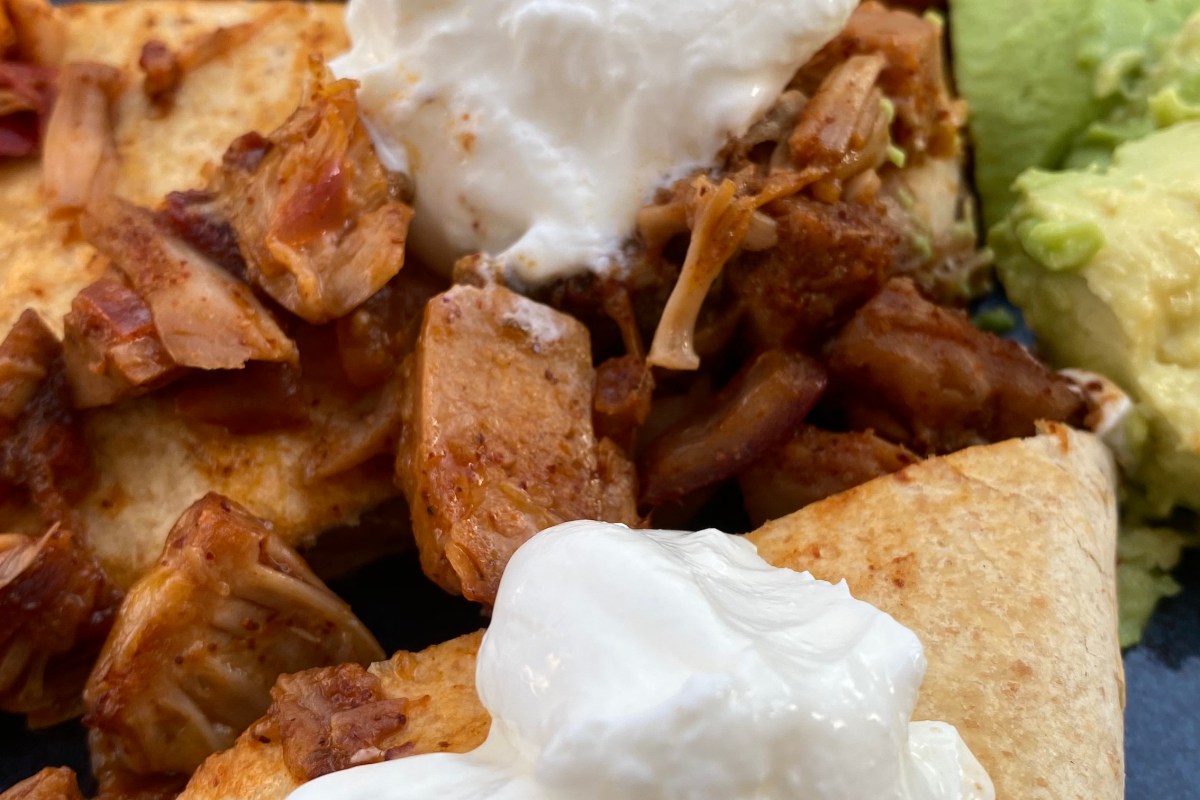
Review:   One day I was walking the aisles of Trader Joes and saw a can of Jackfruit. I’d heard of Jackfruit before, but wasn’t sure what to do with it and my good pal Google suggested that I try the Minimalist Baker’s recipe. I’m a big fan of hers so I gave it a try!!! WOW, I’m so glad I did! This is one of our favorite recipes and a “go-to” when we just want a quick meal.

This recipe was a little too spicy for me, but can be adjusted with your seasoning. Other than the heat level, the recipe works well. It is easy to make, well described, and full of flavor. My meat loving guy really likes this recipe!! #win

One thing to note is that canned Jackfruit has very little nutritional value. The can from Trader Joes has 7 grams of fiber, 135 mg of potassium, and 300 mg of sodium (rinse well). You can beef up the nutritional value by adding a nice salad with chopped veggies, and/or adding beans to the tacos.

Tips: Try making this into Jackfruit quesadillas. After making the recipe above, add it to soft tortillas filled with your fav cheese and gently grill both sides.

Serve with your favorite toppings. We added sour cream (it was hot and this helped cool it) and sliced avocado.

This recipe can be very spicy; add adobo and spices to your taste and not to the recipe. Feel free to ad-lib a bit too. I added sautéed peppers and onions to the recipe and it was great.

Enjoy!